Scoot supports livestreaming into presentations, ranging from basic webcam/HDMI inputs to more complex RTMP or HLS streams using external encoders like OBS, which is ideal for broadcasting events like in-person keynotes to remote attendees
The two most basic methods for livestreaming an event are to use a built-in webcam or to use a camera with an HDMI to USB (or other similar) converter to push a single video and audio feed directly into a presentation in a Room. These options are most likely to be used to capture a smaller presentation where there isn't a need for multiple cameras and microphones.
For more complex events, however, hosts will want to use livestreaming protocols with encoders. With our new feature, an Enterprise customer can hold an in-person event and stream the presentation events and keynote speeches directly to a room where remote users can be networking and viewing the presentation as if they were on site. To be successful, this feature requires specialized hardware or software such as OBS that customers holding an event will be familiar with and can work directly with our support team to ensure proper setup.
Where to Add a Livestream to a Presentation
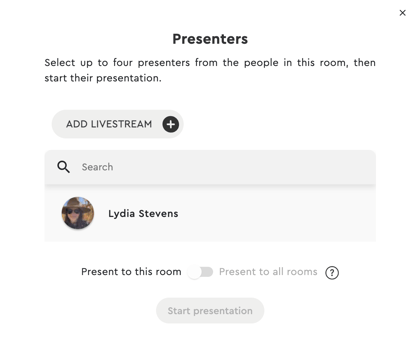
There are two different ways to navigate to adding a livestream to a presentation. If you are not already in a presentation, open the main menu on the right side of the page and click "Select Presenters."
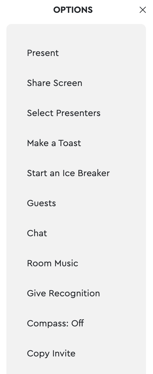
This will pull up an area where you can add presenters in the room to the presentation as well as click "Add Livestream" to add a RTMP or HLS livestream.
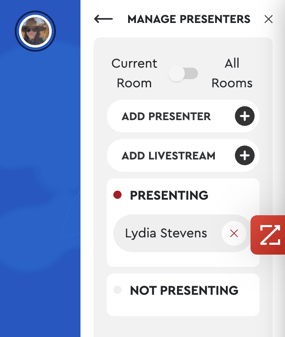
If you are already in a presentation, open the main menu on the right and click back out of Audience Settings. Then, click "Manage Presenters."
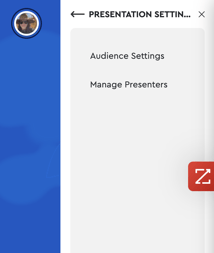
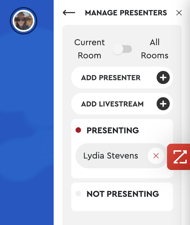
This will pull up an area where you can add or remove presenters from the presentation as well as add a livestream by clicking "Add Livestream."
How to Add a Livestream to a Presentation
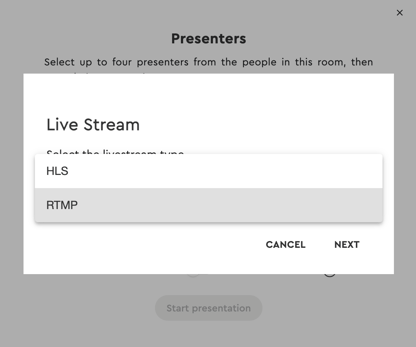
Once you've clicked "Add Livestream," you will have the option of selecting a livestream type: RTMP or HLS. Select one and click "Next."
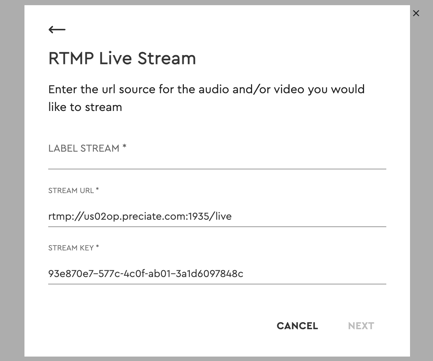
If you selected RTMP, you will then copy and paste the stream URL and stream key to wherever you will be hosting the stream. You will also need to name the stream by filling out the "Label Stream" field.
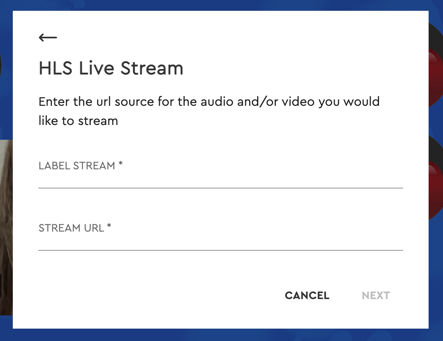
If you selected HLS, copy and paste the stream URL from your stream source and give the stream a name by filling out the "Label Stream" field.
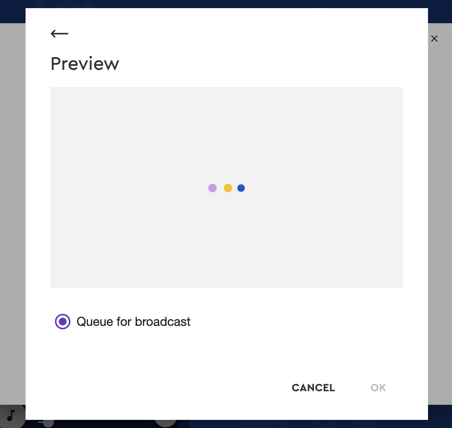
Click "Next" to view a preview of your livestream. Given everything looks good, go ahead and click "Ok" to push the stream to the room.
To end a stream, click the red "X" next to the stream name in the "Manage Presenters" area in the main menu.
Live Stream RTMP Recommended Settings
Live Streaming be done with a full AV setup or a lightweight open broadcaster software. If it's your first time streaming and you lack professional equipment, you can use OBS with the following settings to stream.
For our internal meetings, we use OBS as a tool to stream videos into our calls. If you would like to use this open-source tool, click here to download it
x264 Software Encoder
Click into the Audio and Output tabs to update the settings below
|
Audio Sample Rate: 44.1 kHz Channels: Stereo or Mono |
Rate Control: CBR Bitrate: 2000 - 3000 Kbps Keyframe Interval: 2 Preset: veryfast Profile: baseline FPS: 30 |
Apple VT H264 Hardware Encoder
Click into the Output and Video tabs to update the settings below
|
Encoder: Apple VT H264 Hardware Encoder Bitrate: 2000 - 3000 Kbps Keyframe Interval: 2 Profile: baseline Use B-frames: No (Uncheck) |
FPS: 30 |
Live Streaming is only available for our Enterprise tier customers. To find out more about upgrading to our Enterprise tier, please contact Sales at support@scoot.app